
Blog
How to Verify Peptide Purity: A Step-by-Step Guide
Oct
Table of Contents
- Why Verifying Peptide Purity Matters for Your Research
- Step 1: Request and Review the Certificate of Analysis
- Step 2: Understanding HPLC Peptide Purity Testing Results
- Step 3: Verifying Mass Spectrometry Peptide Verification Data
- Step 4: How to Test Peptide Purity at Home or In-House
- Step 5: Independently Authenticate a Certificate of Analysis
- Common Mistakes to Avoid When Verifying Peptide Purity
- Frequently Asked Questions
Last Updated: October 19, 2026
Why Verifying Peptide Purity Matters for Your Research
How to verify peptide purity is one of the most critical questions any researcher faces when sourcing materials for experiments.
The stakes are high. A peptide that appears pure on paper but contains hidden impurities will behave differently in your assays than expected. Your controls won’t match published data.
This is why we at Quantum Labz built our entire operation around transparent, batch-specific verification.
The verification process has five core steps. Each one builds on the last. Together, they give you absolute confidence in your materials.
Peptide purity verification is not optional, it’s the foundation of reproducible research. Skip it, and your experiments are built on sand.
Step 1: Request and Review the Certificate of Analysis
Start here. Before you even open a vial, you need the Certificate of Analysis (COA).
A COA is a document from an independent laboratory that certifies what’s actually in your peptide sample. It’s not a promise from the supplier, it’s a third-party test result. This distinction matters enormously.
When you request a COA, you’re asking for proof. Legitimate suppliers provide it immediately. If a vendor hesitates, pushes back, or says “our peptides are always pure so we don’t test every batch,” that’s a red flag.
What a Complete COA Should Include
A proper COA contains specific information. Here’s what to look for:
- Batch or lot number that matches the vial you received
- Testing date that’s recent (within the last few months, ideally)
- Purity percentage stated as a specific number (e.g., 99.2%)
- Testing method used (HPLC, mass spectrometry, or both)
- Molecular weight confirmation
- Laboratory name and contact information so you can verify it’s real
- Signature or certification from an authorized analyst
If any of these are missing, ask for a complete report. Incomplete COAs hide problems.
Matching Vial Lot Numbers to Laboratory Reports
This step catches fraud and mix-ups.
Your vial has a lot number printed on it. Your COA has a lot number in the header. These must match exactly. Not “similar.” Not “close enough.” Identical.
A mismatch means either:
- The vial was mislabeled
- The COA belongs to a different batch
- Someone swapped samples
Any of these scenarios means you can’t trust what you have. Contact the supplier and request the correct documentation or a replacement vial.
Write down the lot number before opening anything. Keep it with your lab notes. When you reference the experiment later, you’ll know exactly which batch you used and can cross-reference it to the test results.
Step 2: Understanding HPLC Peptide Purity Testing Results
HPLC stands for high-performance liquid chromatography (HPLC Analysis and Purification of Peptides). It’s the standard method for measuring peptide purity, and understanding what it actually tells you is essential.
Here’s what happens: Your peptide sample is dissolved and pushed through a column filled with material that separates molecules by size and chemical properties. As molecules exit the column, a detector measures them.
The chromatogram shows peaks. Each peak represents a different compound in your sample. The biggest peak is your target peptide. Smaller peaks are impurities.
Reading the Chromatogram and Area-Percent Values
The purity percentage comes from peak areas. The software calculates what fraction of the total area belongs to your main peak.
If your main peak covers 99% of the total area under all peaks, the report says “99% purity.”
But here’s what most people miss: area-percent is not the same as mass-percent. A small molecule might create a huge peak.
This matters when you’re building a protocol that depends on exact molar quantities.
Limits of HPLC Area-Percent and What Purity Percentages Actually Mean
This is where most guides stop. And it’s where the real work begins.
A 99% purity HPLC result means 99% of the signal came from one peak. It does not mean your sample is 99% pure by weight. It does not mean the remaining 1% is inert.
That 1% might be:
- Residual solvent from synthesis
- Salts left over from purification
- Partially folded peptide variants
- Byproducts from the synthesis reaction
Some of these are harmless. Some interfere with your assay. Some are toxic at certain concentrations.
The only way to know is to look deeper. This is why mass spectrometry exists.
Do not assume 99% HPLC purity means your experiment will work as expected. The remaining 1% could contain compounds that interfere with your specific assay. Always cross-reference HPLC results with mass spectrometry data.
Step 3: Verifying Mass Spectrometry Peptide Verification Data
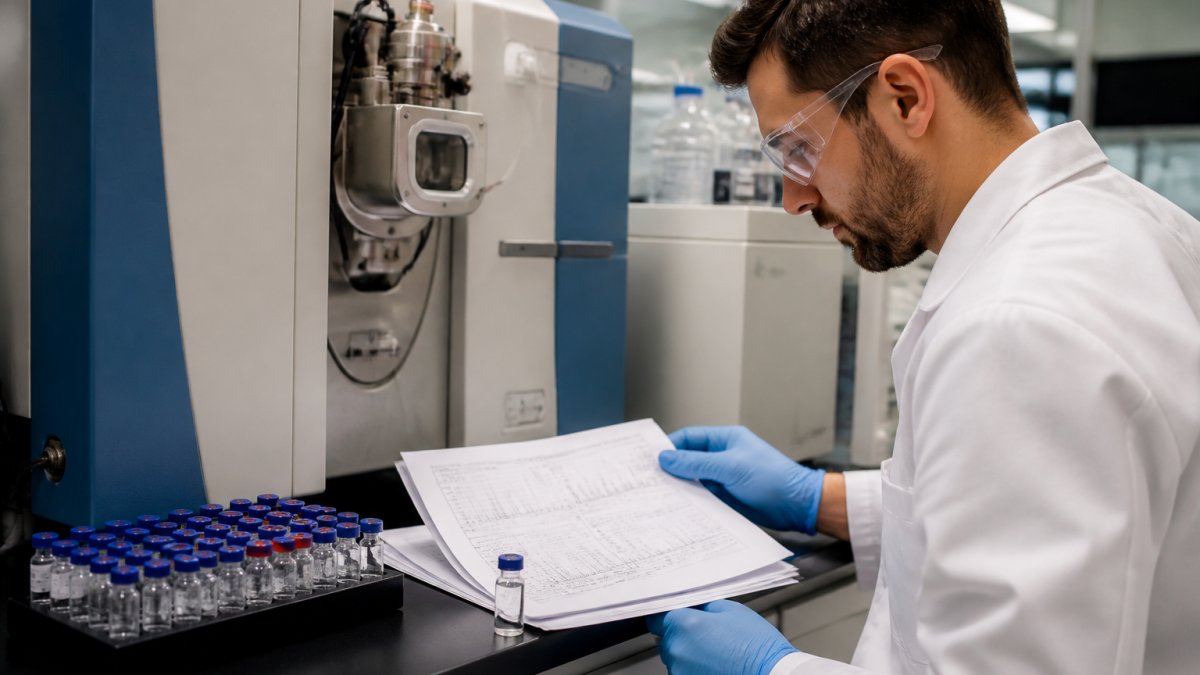
Mass spectrometry (MS) answers a question HPLC cannot: what is actually in your sample?
MS works differently. It ionizes molecules and measures their mass-to-charge ratio. The result is a spectrum showing the exact molecular weight of compounds present.
Your target peptide has a specific molecular weight. If MS shows a peak at exactly that mass, you have confirmation.
Molecular Weight Confirmation and Peak Analysis
The MS report will show a mass spectrum with multiple peaks. Your job is to identify which peak belongs to your peptide.
The peak should be at the exact molecular weight of your target. If it’s off by even a few daltons, something went wrong during synthesis or storage.
Check the report for:
- Exact mass of your target peptide (should match calculated mass)
- Peak intensity at that mass (higher intensity = more of your target)
- Isotope pattern (peptides show characteristic isotope distributions that confirm identity)
- Other peaks present (these are impurities, note their masses)
If the main peak is offset from the expected mass, the peptide may have degraded, oxidized, or been synthesized incorrectly. Request a new batch.
Why Mass Spectrometry Complements HPLC Testing
HPLC tells you how much of one peak you have. MS tells you what that peak actually is.
Together, they provide complete information:
- HPLC: “99% of the signal is from one compound”
- MS: “That compound has a mass of 2,847 Da, which matches your target peptide”
This combination confirms both purity and identity. It’s the gold standard for peptide verification.
At Quantum Labz, every batch is independently third-party tested with Mass Spectrometry verification, guaranteeing a minimum 99% purity. This gives you absolute confidence in your materials.
Step 4: How to Test Peptide Purity at Home or In-House
You don’t need a mass spectrometry facility to perform basic verification. Simple checks can catch obvious problems before you use your peptide in experiments.
Basic Visual and Physical Inspection
Start with your eyes.
Open the vial and examine the peptide. It should be a white or off-white powder. If it’s yellow, brown, or discolored, oxidation may have occurred.
Smell it (carefully, from a distance). Research-grade peptides should have minimal odor. A strong chemical smell suggests residual solvent or degradation.
Weigh a small amount. If you ordered 10 mg and the vial feels substantially lighter, you may have received less than promised.
Dissolve a tiny sample in your standard buffer and observe:
- Does it dissolve completely?
- Is the solution clear or cloudy?
- Does it change color over a few minutes?
Cloudiness or color changes suggest impurities or degradation. Clear solutions indicate the peptide is likely intact.
Sampling, Storage, and Chain of Custody Considerations
How you handle your peptide after it arrives affects everything that comes next.
Store it immediately in the conditions specified on the COA. Most peptides need:
- Room temperature or refrigeration (check the label)
- Dry environment (use a desiccant pack if provided)
- Darkness (UV light degrades peptides)
- Sealed container (prevent air and moisture exposure)
When you open the vial, use sterile technique. Wear gloves. Use a sterile spatula or pipette tip. Minimize air exposure. Close the vial quickly.
Keep detailed records:
- When you received the vial
- Who opened it and when
- How much you used
- Storage conditions
- Any observations (color, odor, solubility)
This chain of custody proves you handled the material correctly. If results later seem off, you’ll know whether the problem was the peptide or your handling.
Step 5: Independently Authenticate a Certificate of Analysis
A COA is only as good as the laboratory that issued it. Verification means checking that the lab is real and the report is legitimate.
Verifying Third-Party Laboratory Credentials
The COA lists a laboratory name and address. Verify it exists.
Search for the lab online. Look for:
- Official website with contact information
- Accreditations (ISO 17025 is the standard for analytical labs)
- Service list that includes peptide analysis
- Phone number you can call to confirm the report
Call the lab. Provide the report number or batch number. Ask if they issued that report. A legitimate lab will confirm or deny it immediately.
Check whether the lab is accredited. Accreditation means an independent body audited their procedures and equipment (About ILAC International Laboratory Accreditation Cooperation). It’s not a guarantee of accuracy, but it’s a strong signal of legitimacy.
Be suspicious of labs with no online presence, no accreditation, or no phone number.
Identifying Authentic Versus Questionable Reports
Authentic COAs have consistent formatting and specific details. Questionable reports have vague language or missing information.
Red flags:
- Generic statements like “this peptide is pure” without numbers
- Missing methodology (no mention of HPLC or MS)
- Undated reports or dates far in the past
- No lab contact information
- Handwritten sections (professional labs use printed templates)
- Inconsistent formatting across multiple reports from the same supplier
- Purity claims without supporting data (e.g., “99% pure” but no chromatogram)
Authentic reports include:
- Specific purity percentages with decimal places
- Chromatograms or mass spectra
- Testing date within the last few months
- Lab accreditation numbers
- Analyst signature or digital certification
- Batch-specific lot numbers
Compare multiple COAs from the same supplier. They should have consistent formatting and similar level of detail. Wide variation suggests inconsistent quality control.
Common Mistakes to Avoid When Verifying Peptide Purity
Most researchers make one of these errors.
Assuming 99% means perfect. It doesn’t. That 1% impurity could matter for your assay.
Trusting supplier claims without independent verification. Suppliers have incentive to overstate purity.
Using outdated COAs. Peptides degrade over time.
Ignoring the testing method. HPLC alone doesn’t confirm identity.
Skipping the lot number check. This is how mix-ups happen.
Not storing peptides correctly after arrival. Good peptides go bad if stored improperly.
At Quantum Labz, we’ve built our entire operation around this verification standard.
| Verification Step | What You’re Checking | What to Look For |
|---|---|---|
| COA Review | Batch identity and testing method | Matching lot numbers, recent test dates, complete lab info |
| HPLC Results | Purity percentage and peak composition | 99%+ area-percent, clear chromatogram, identified peaks |
| Mass Spectrometry | Molecular weight and compound identity | Peak at exact target mass, isotope pattern match |
| Physical Inspection | Sample condition and storage integrity | Clear color, complete dissolution, no odor or discoloration |
| Lab Verification | Third-party credibility and accreditation | ISO 17025 accreditation, online presence, callable contact |
Frequently Asked Questions
How can you verify the purity of a peptide?
Verify peptide purity by obtaining a Certificate of Analysis from the supplier, confirming the batch lot number matches your vial, and reviewing HPLC and mass spectrometry results. HPLC shows the area-percent purity (e.g., 99%), while mass spectrometry confirms molecular weight and identity. Request independent third-party testing results and cross-reference the laboratory credentials to ensure authenticity.
What should a peptide Certificate of Analysis include?
A complete Certificate of Analysis must include the peptide name, batch/lot number, purity percentage, HPLC chromatogram data, mass spectrometry molecular weight confirmation, testing date, and the third-party laboratory name and accreditation details. It should also list storage conditions recommended for the peptide.
Can you test peptide purity at home?
Basic in-house testing is limited to visual inspection (checking for discoloration, crystallization, or contamination) and verifying vial integrity and storage conditions. However, definitive purity testing requires specialized equipment: HPLC for separation and quantification, and mass spectrometry for molecular weight confirmation. Most research institutions rely on third-party laboratory results rather than conducting full purity analysis in-house due to equipment and expertise requirements.
How do HPLC and mass spectrometry differ in peptide testing?
HPLC (high-performance liquid chromatography) separates peptide components and measures purity as a percentage by peak area, identifying impurities present. Mass spectrometry measures the exact molecular weight of the peptide, confirming its identity and detecting structural variations. HPLC answers ‘how pure is it?’; mass spectrometry answers ‘is it the right molecule?’ Together, they provide comprehensive verification of both purity and identity.